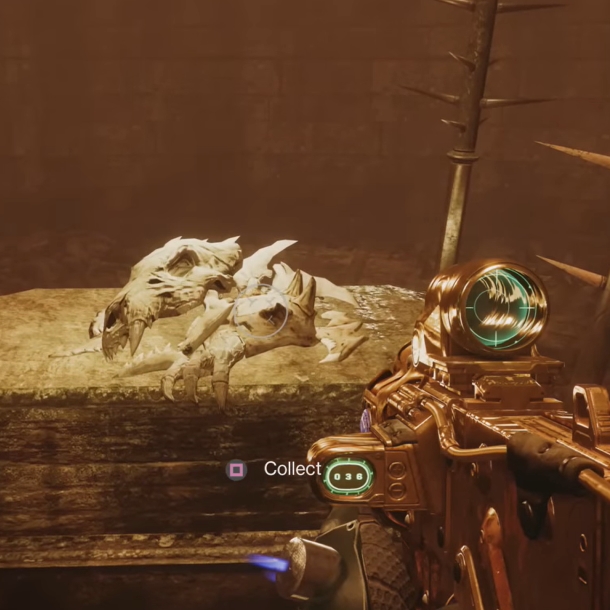
Finding all 10 Bones of Hefnd in Destiny 2’s Warlord’s Ruin can be a bone-afide challenge, but fear not, Guardians! This guide will lead you through the Taken Corruption and reveal the secrets to Hefnd’s hidden remains.
Destiny 2: Where to Find All 10 Bones of Hefnd
It’s important to note that the bones are not located in chronological order as you progress through Warlord’s Ruin. Therefore, you may need to replay the quest multiple times to dispel all the Taken Corruption doors and retrieve all the bones. Let’s explore the locations of each bone:
Hefnd’s Bone #1
To find the first Hefnd Bone, head straight after crossing the bridge at the beginning of the quest. Slide through the gate into the castle and continue forward until you reach a Taken Corruption door. The bones can be found in the room beyond.
Hefnd’s Bone #2
After breaking out of jail, jump up through the ceiling hole in the blue room. Proceed past the door on the right, which is located just past the first set of spikes that you need to jump over. The second Hefnd Bones await you there.
Hefnd’s Bone #3
To obtain the third bone, defeat the second boss. As you approach the big Taken room with the large black orb, continue climbing higher. Look for a door on the left side, hugging the mountain and adorned with orange covers. The third bone lies within this room.
Hefnd’s Bone #4
After defeating the first boss but before facing the second, navigate through the second stone maze with spike traps. Follow the main path, and the fourth bone will be directly straight ahead.
Hefnd’s Bone #5
Upon reaching the bridge section with numerous adds and the final boss, go to the right side and enter the sewer located there. This is where the fifth bone can be found.
Hefnd’s Bone #6
The sixth bone can be elusive. After passing through the Taken room with the large black orb at its center and defeating a group of Scorn, you will face a cliff. Rather than pressing on, midway through that chamber, you will notice a hole on the left wall. Jump into it and discover the door concealing the sixth Hefnd Bone.
Hefnd’s Bone #7
In the later stages of the last stone maze section, jump over the hole and run towards the cylindrical window. To the right of the window, you will find the seventh bone and your first level three door.
Hefnd’s Bone #8
This bone is located in the Taken room with the large black orb. Instead of ascending and leaving at the end of the cave, descend by hopping on the floating rocks. Near the bottom, you will notice a glowing yellow light and a cutout in the mountain. This is where the door and room housing the eighth bone can be found.
Hefnd’s Bone #9
As you encounter the section with three mountainous spires, stone doors, and a Taken black orb in the middle, enter the door that directly faces the Taken black orb. Open the level three door within, and you will discover the ninth bone.
Hefnd’s Bone #10
The tenth bone is located to the left of the final boss chest. It should technically be the first door you open, but if you have not obtained it yet, make sure to collect it before leaving the area.
By following this guide and collecting all 10 Hefnd’s Bones in Warlord’s Ruin, you will successfully complete the Shadow of the Mountain quest in Destiny 2. Good luck, Guardian!
Related:
